-40%
Bottom Bracket Cover Protection Cap BB Thread Push-in Id 24mm Road Mountain Bike
$ 3.69
- Description
- Size Guide
Description
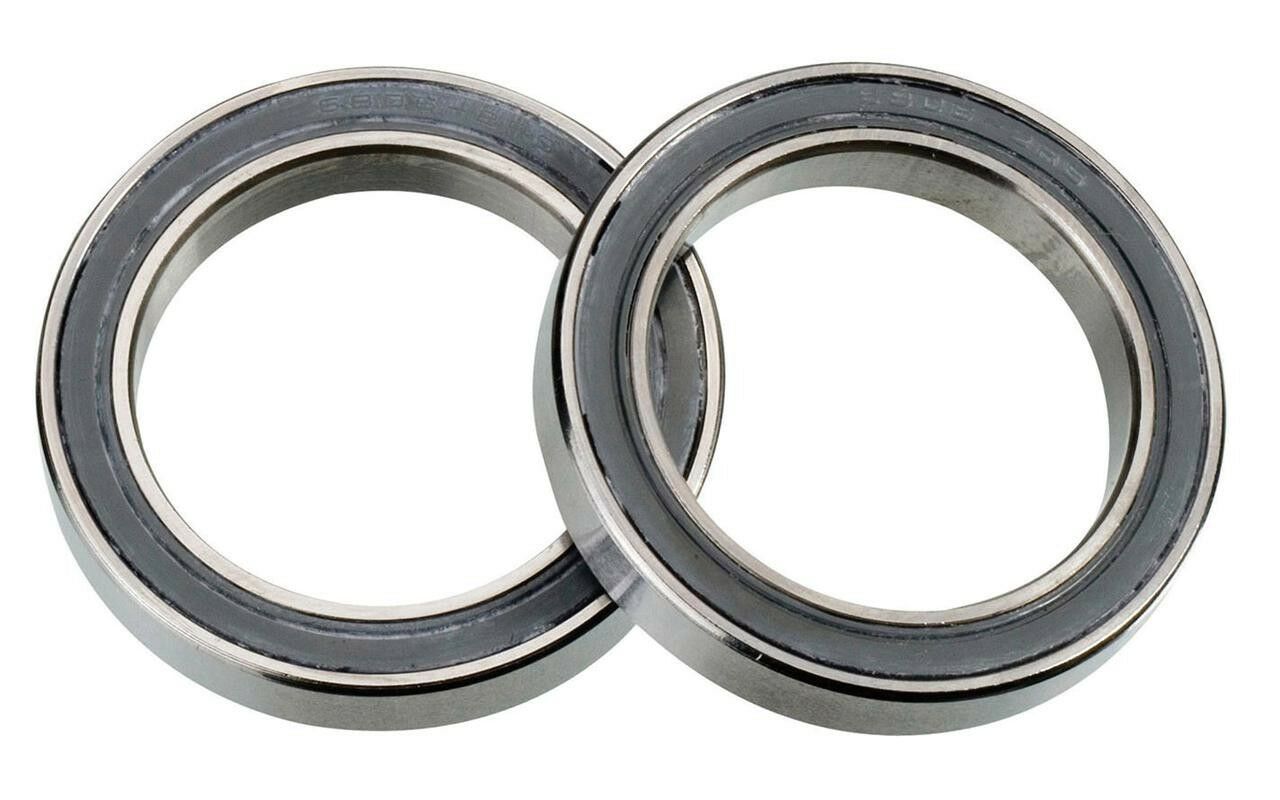
Name: Bottom bearing protection coverSpecifications: Suitable for bearings with an inner diameter of 25MM and crank shafts with an outer diameter of 24MM.
Material: Engineering Plastic
Function: Waterproof and dustproof to improve bearing life
Weight: 1.4g pair
Packing list: protective cover * 1
Because it is a buckle design, it must be gently pressed into the 70% position during installation, and the rest of the place is gently pressed with a screwdriver or other tools until the buckle is completely inside the bearing, and then it is fully pressed into the bearing. When you hear a click, the installation is successful.
Important reminder: Do not press all the force directly, this will cause damage to the protective cover.
Many riders replace the new bearings and cause the original dust cover to be damaged and cannot be installed. This can be a good replacement. No tools are needed. Manually press it to install it. It is very convenient. After the crank is locked, there will be no loosening. One axis needs two
1. Put 80% of the bottom bracket cover in the middle of the bearing first
2. Hold the side of the bottom bracket cover with a screwdriver and gently press the bottom bracket cover with your hand, so that the remaining part can enter the bearing smoothly.
3. After all the steps have entered the bearing bore, press evenly with your hands until the installation is complete
4. Installation is complete


